In case you don’t want to use PHP’s built-in webserver, you can set up your Apache environment on Windows to run Laravel with a custom local domain like laravel.test.
Preparations
This tutorial starts from the point where Apache, MariaDB/MySQL and PHP are already installed on your PC. If you don’t have them yet, just download and install XAMPP.
You should also have Composer
installed, which is a dependency manager for PHP. If you download it
now, use the installer, it will set up your PATH so that you can call composer from any directory in your command line.
For people who use XAMPP or something similar for web development, Laravel’s command line installs and operations might be repulsive in the beginning. But since many modern dev tools require typing commands in terminal (e.g.: NodeJS, Composer), you’ll have to get used to them inevitably. To make your life easier, I would like to recommend you a better, free terminal tool instead of the default Windows cmd interface. It’s called ConEmu. Among many nice features, it handles multiple tabs, remembers the directory where you were last time and supports copy paste properly. Once you complete this tutorial, you don’t have to type php artisan serve anymore, at least. 🙂
Install Laravel globally and create a project
If you already have a Laravel project in the root of your webserver then you can skip this section and jump to the next.
Open a terminal and run the following command: composer global require laravel/installer to install Laravel globally. Once it’s done, you can create a fresh Laravel project with the laravel new command in the directory you’re in. In your terminal go to the root of your webserver (e.g.: cd C:\xampp\htdocs) and run laravel new your_project.
Custom domain for your Laravel project on localhost
Now dream a custom domain for your project. We will use laravel.test in this tutorial. Go to the following folder C:\Windows\System32\drivers\etc and open the hosts file, paste the following line and save it.
127.0.0.1 laravel.test
By doing this we tell Windows to direct laravel.test domain to our localhost. Don’t worry, http://localhost will remain available as well.
Now we will create a virtual host in Apache and we will instruct our server to load the contents of a specific folder when someone requests the laravel.test URL. The specific folder is your Laravel project’s public directory. Find the httpd-vhosts.conf file in your Apache’s conf directory, e.g.: C:\xampp\apache\conf\extra\httpd-vhosts.conf, open it, paste the following lines and save it.
<VirtualHost laravel.test:80>
    DocumentRoot "C:/xampp/htdocs/your_project/public"
</VirtualHost>
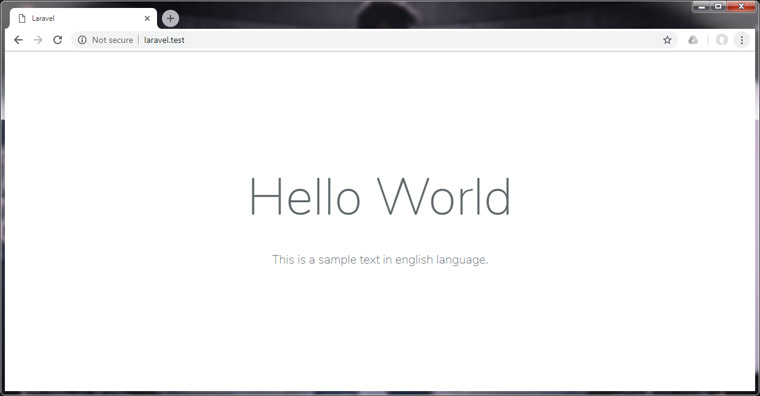
Now start/restart your apache server and visit laravel.test in your preferred browser. Your laravel project should be up and running there.
That’s it! Happy coding!